How to Load Photo Paper in Printer?
Printers are a key part of any office or home, and being able to use them properly is essential. Many people don’t know how to load photo paper into their printer, and as a result, they either waste paper or end up with poor quality prints. Follow these steps and you’ll be able to load photo paper into your printer like a pro!
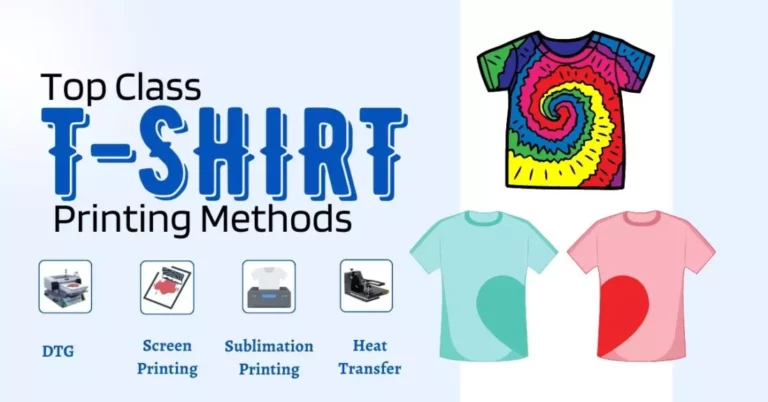
Everyone knows about sublimation printers but often many people have a hard time learning how to load sublimation paper in a printer and get started using the equipment. The good news is, there are really only a couple of steps you need to know in order to get going which we will explain here.
How to Load Paper in a Printer?
We will walk you through the steps to properly load your sublimation paper. It’s easier than you think! You will have your paper loaded in no time.
- Set up your computer and printing software.
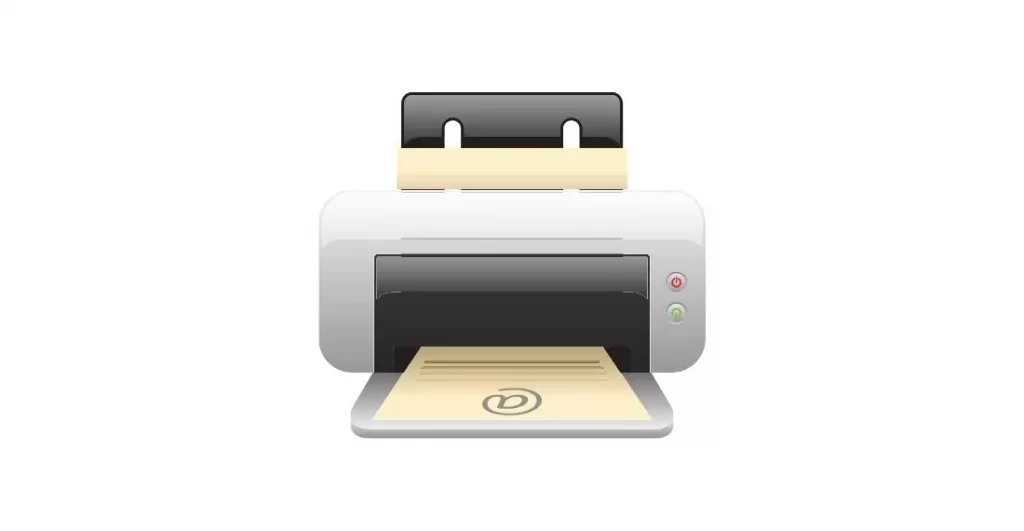
- Insert the sublimation paper into the printer’s paper tray. But be careful about fold paper in it may hurt your printer performance and you will have to face paper jam in printer.
- Print a test page and make sure the printing is lined up correctly.
- Once you’ve confirmed that the printing is correct, print on the actual item you’ll be transferring the image onto.
Now, Read every step in bit explanation and after spending hours we try to explain guide visually so you can understand each step easily and clearly. And this guide is for all types of printers and papers because every printer tray standard in size and we used regular paper for every model of printer. Let have a look below now:
1. Set Up Your Computer and Printing Software
You will first need to set up your printing software and make sure that the printer is communicating with your computer.
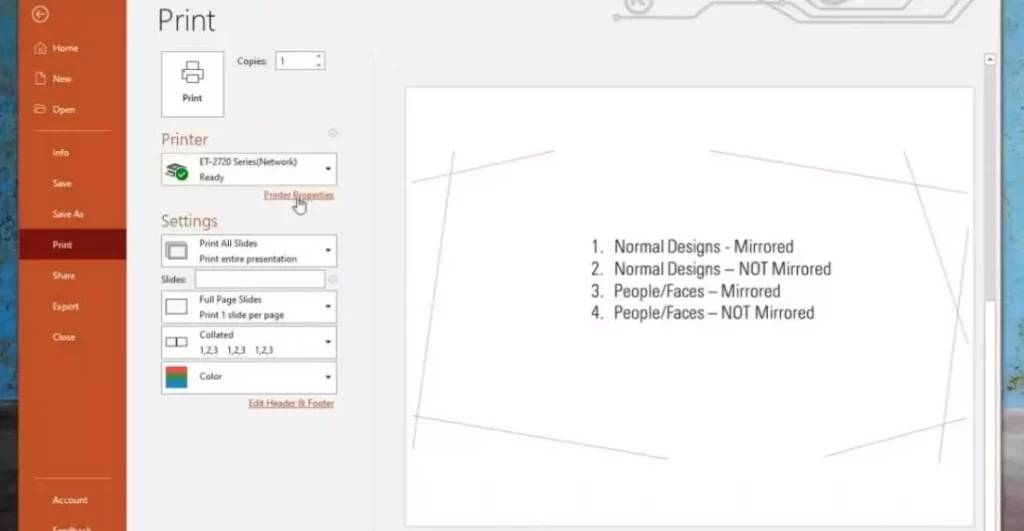
As you are working with the sublimation paper, you will want to be sure that you have the correct settings in place. Your software should default to a “mirror image” setting, which will cause your print to be reversed as it prints. It is important that your print is reversed so that the image appears correctly when transferred onto your item.
You will also want to make sure that you have the correct color settings selected in order to ensure the most accurate colors from your print.
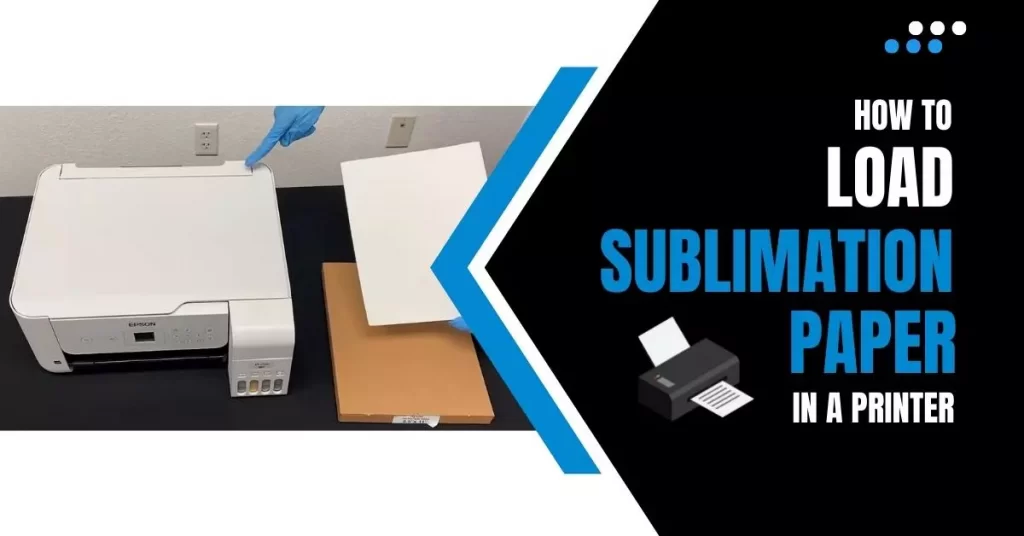
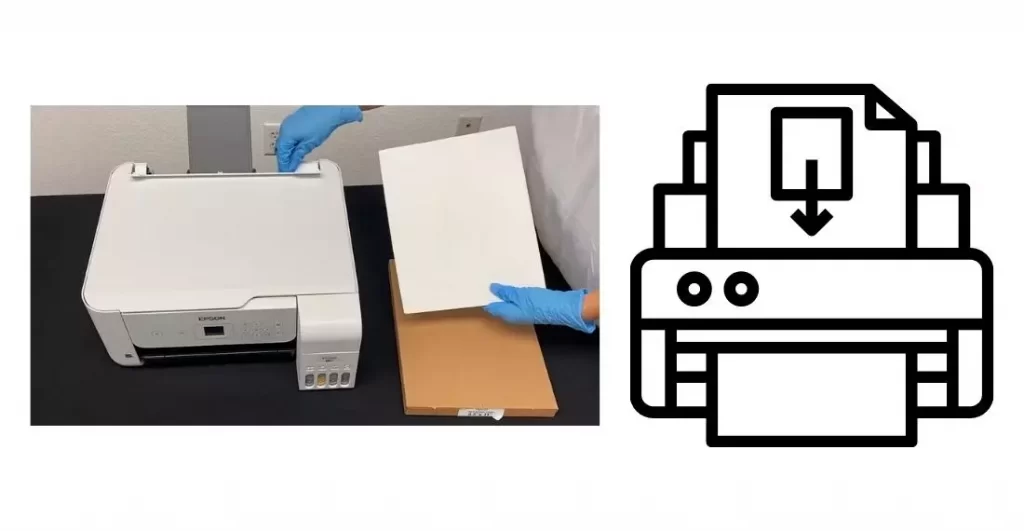
2. Insert the Sublimation Paper Into the Printer’s Paper Tray
After you have set up your computer and printing software, and your Dye Sublimation Printer is ready to go, it’s time to load the sublimation paper into the printer.
- 1. Open the printer cover, by lifting it up.
- 2. Load the roll of sublimation paper with the printable side facing out.
- 3. Roll the paper in so you have enough length of sublimation paper to come out of the printer and over the top cover bar that is parallel with the roller bar inside (and on top) of the printer.
- 4. You should see a little white lever that moves from side to side, move this lever to the LEFT so it locks in place. This will free up the roller bar inside and allows it to spin when printing begins. Be sure this lever is moved all of the way over so there is no tension on the paper coming into the printer.
- 5. Close the printer cover and watch for any jams or tension on the sublimation paper as you close it down on top of the bar that you positioned your paper over in step 3 above – if you feel any resistance or tension then open up again and make sure you have enough paper coming out of your printer on top of this bar that you positioned your paper over.
3. Print a Test Page and Make Sure the Printing Is Lined up Correctly
Test your printer by printing a test page. Most printers will have a test print button on their display panel, and most computers will have a Print Test Page option in the printer’s properties menu.
Print the first page of your document. Make sure that the printing is lined up correctly and that there are no spelling mistakes or other errors.
- Once you’ve confirmed that the printing is correct, print on the actual item you’ll be transferring the image onto.
Finally, hit Print! Your sublimation paper will start printing on this page just fine as long as you’ve followed these steps correctly.