Sublimation Printing on Metal: Process, Guide, Strengths & Limitations
Sublimation printing on metal is one of the fastest growing trends in the creative world. It offers stunning image reproduction while delivering a sleek, vibrant, and clean look. Advanced technology and high quality material (metal sheets) ensures that prints will turn heads towards them wherever they hang. In a scientific test, metal prints created by dye-sublimation are found to retain color balance and quality as much as 4 times longer than photographic paper.
Today in this article, I am going to tell you every detail about dye-sublimation ( also known as metal printing ). So you can create either a masterpiece for your tv lounge or start a small business to earn good cash. Printing sublimation on metal is a very simple but result worthy process. Keep reading to know more!!.
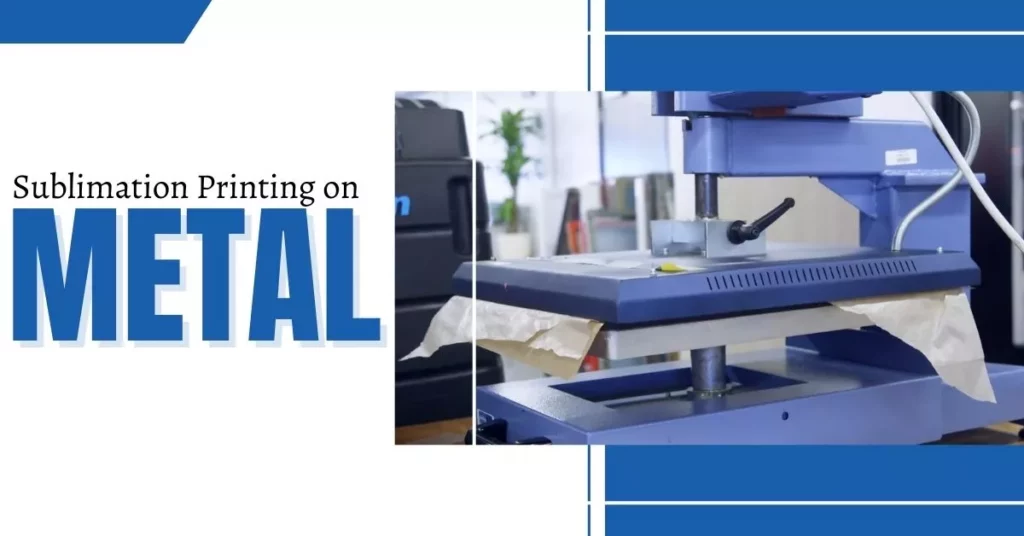
What Exactly Is Sublimation Printing on Metal?
Sublimation itself is the process of going from a solid to a gas then back to a solid, skipping the liquid state. Sublimation printing onto metal is a process of infusing dyes with a pre-treated metal sheet which is generally 0.5, 0.7 or 1.1mm thick, via heat transfer. Sublimation metal has a polymer clear coating applied to its surface to which ink will bond during the heat process for creating a permanent bond that is waterproof, UV and scratch resistant. Once the dyes / inks fully submerge underneath the surface, the process of metal printing is complete and permanent.
What Are the Strengths & Limitations of Sublimation Printing on Metal?
Here are some main strengths & limitations of sublimation printing on metal ( 3D printing) which makes a sense of its comparison with other printing techniques.
| Strengths | Limitations |
| Great color / dyes penetration fully inside the metal sheet. | Cost of this type of printing is generally higher than with other techniques. |
| Water, scratches, chemical and UV resistant and withstand wear over time. | If continuously held outdoors it will fade earlier then their life span. |
| Design can be finished in different ways such as matte, gloss and semi-gloss in white and clear. |
Process for Dye Sublimation on Metal
The designs created on metal sheets are so unique and in such demand that we’re seeing an insurgence. Now, Let’s dive deep into the complete process of sublimation on metal.
Equipment: What will you need?
For high quality sublimation printing, get stated by investing in the right equipment. Here’s the list of items that you’re going to require.
1. A Heat Press Machine
For transferring the design onto the metal surface a heat press is required. Make sure to shop for the best Heat press machine as this will be the biggest investment you’re going to make in this process. As a beginner, don’t go for a press machine that is difficult to use.
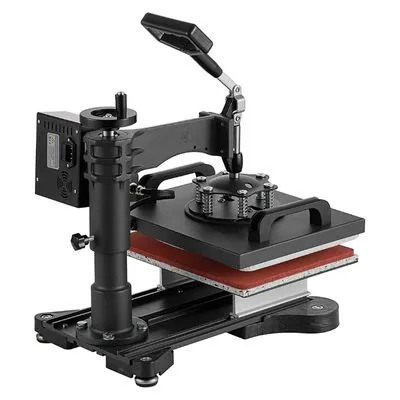
Investing in a flatbed heat press machine is really worthy, as not only it works best for aluminum sublimation printing however this machine will also work on fabrics and other materials. So you won’t find yourself limited when you decide to expand your business. See the image given below.
Note: Consider buying a heat press machine that is of the bed size means it should be large enough to support your designs on every substrate.
2. Sublimation Metal Sheets
Aluminum sheets are the most commonly used sublimation metal sheets. They are formulated with a special coating that makes a strong bond with printing ink. They are engineered to be more chemical, scratch and UV resistant than other media in the market, which make them suitable for hanging in bathrooms, saunas, kitchens, etc. Soap and water is sufficiently enough to clean fingerprints from these sheets.

Due to its advantageous characteristics, these sheets get a priority as a dye Sublimation Printing material. Suppliers also cut the sheet into sublimation aluminum discs according to what size you need. See the image given below.
3. Sublimation Printer
Heat press is one of the most expensive piece of equipment needed, however a printer might be the most important. Through this you get designs from a digital platform (software) onto the paper that will eventually transfer it to the final product. So don’t rush for it.
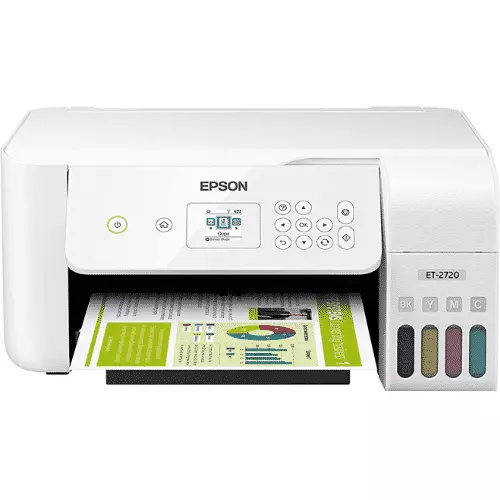
There are many popular brands of professional sublimation printers such as Mutoh, Durst, and Mimaki. But if you are looking for a smaller scale sublimation printer then you can invest in Sawgrass SG500 and Sawgrass Virtuoso SG1000. See the image given below.
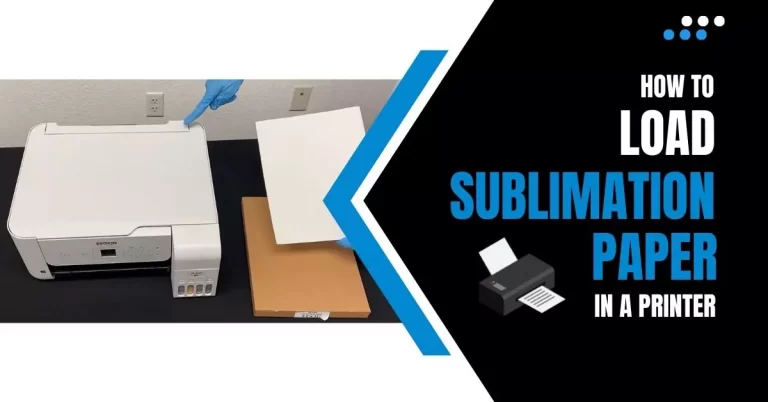
4. Sublimation Paper
Sublimation requires a special kind of paper, specifically designed for releasing the ink from its surface onto the substrate (metal, glass, fabric, mugs, etc). There are two types of sublimation paper that you can use for this purpose. Let’s have a quick look at both of them.
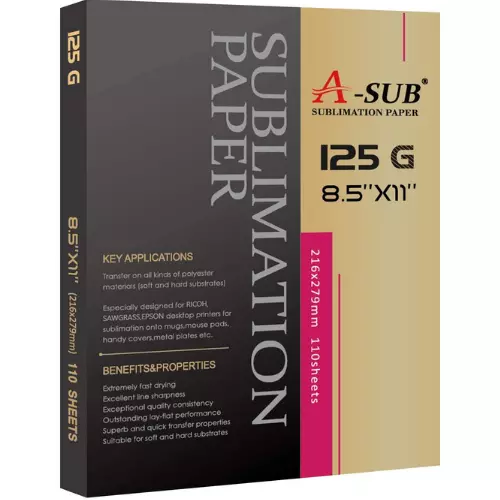
Light Sublimation Paper: This kind of paper blends well with light color so it is used with light colored backgrounds. Mostly, for sublimation on aluminum this is going to be the optimal choice. See the image given below.
Dark Sublimation Paper: In contrast, this paper makes colors much more vibrant that’s why it works well for darker backgrounds. As, getting designs onto a dark surface is difficult. That’s why this paper has limited uses. And beginners should avoid using it.
5. A Computer Software
Some professional sublimation printers come with specific programs that need to be installed for actually printing the designs. This is known as RIP software. While other sublimation printers can be used with design software of your own choice.

For the actual designs, you can also use photo editing programs like Adobe Photoshop or Corel Draw and few other different sublimation software’s are available in market. Then transfer the selected design into the required software for printing.
6. Heat Resistant Tape
Parchment paper provides certain protection against heat transfer but it’s not enough. That’s where heat resistant tape play a role. Place it between the paper and surface so the heating element of the heat press never comes into direct contact with the surface. It also holds the sheet in place while the heat press transfers the ink. See the image given below.
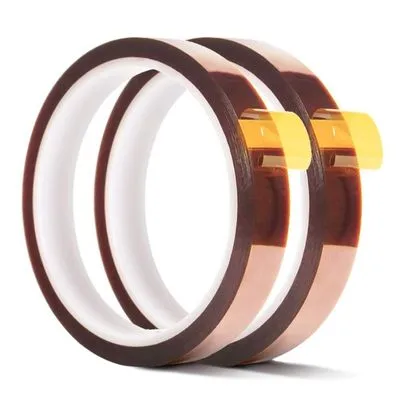
Note: “Blowout” can also be prevented by using heat-resistant tape. Blowout is the over-smudging and blowing of colors out of their borders, which happens due to either the sheet was over or unevenly heated or too much pressure was applied while heat pressing.
7. Heat Resistant Gloves
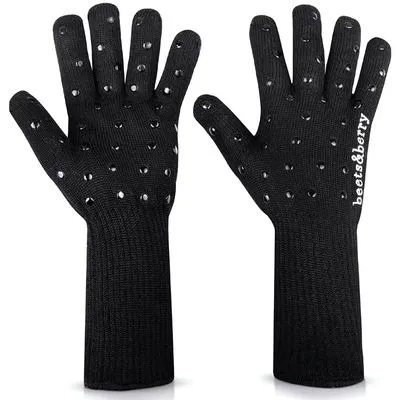
Sublimation printing on metal puts you at higher risk of getting burns since you are working with heated aluminum. So wearing heat resistant gloves during the process is an essential item. These will surely protect you from any accidents. See the image given below.
Step-By-Step Guide for Sublimation Printing on Metal
If you follow the right steps for doing dye-sublimation you’ll be amazed by the results; whether the image gets printed on metal or metal turns into your desired image. Let’s get started…
1. Design and Print
The very first is actually creating a design that is required to get sublimated on a metal sheet. Use a good photo editing software like Adobe Photoshop, Corel Draw, Serif Affinity or Gimp Design. Once you are done with editing of design and saved, put it into the RIP software then print it onto sublimation paper.
2. Prepare the Heat Press
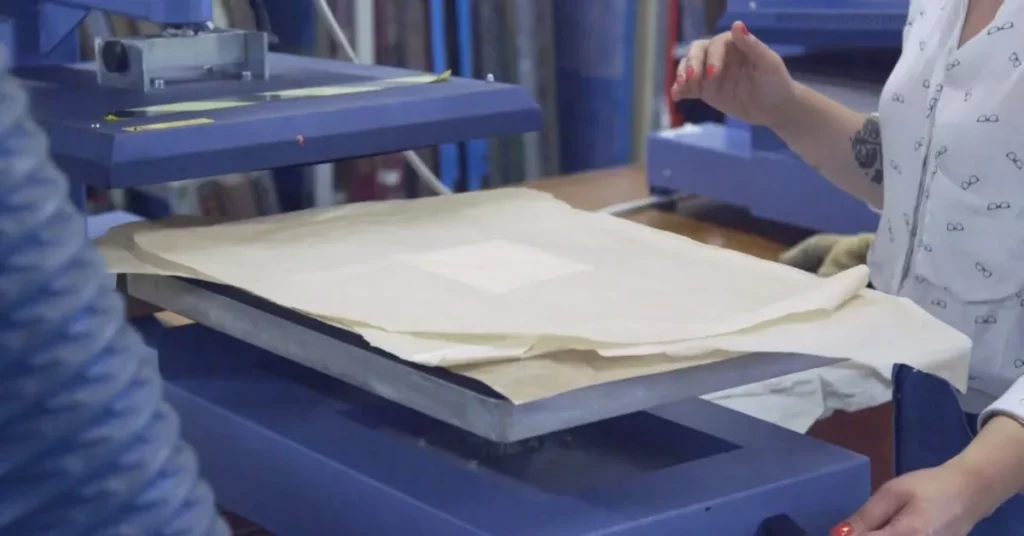
Before using the press heat, it must be preheated. Exact temperature of press heat basically depends on the type of metal (aluminum) being used for sublimation, but in most cases, 400° F is recommended. See the image given below.
3. Prepare the Sublimation Metal Sheet
While waiting for the pre-heating of press heat, prepare the metal sheet. Sublimation metal sheets come usually with a clear or blue color protective coating applied to the printable side. Make sure you remove this covering completely by peeling it off slowly.
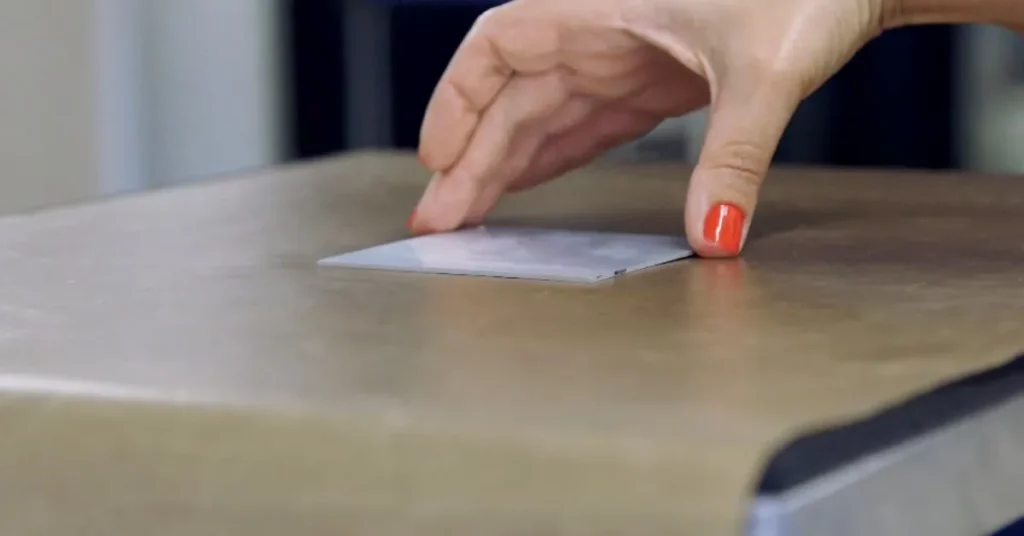
Now, place the sheet with printing side up on a clean and flat working area. It’s highly advised to use a transfer sheet that is a bit larger than the surface of the aluminum sheet you’re dye sublimating onto. Take the sublimation metal sheet, flip it over to make the printable side facing down. Then place it onto the paper transfer print and secure it to the metal sheet using a heat resistant tape. See the image given below.
4. Prepare Your Printed Design
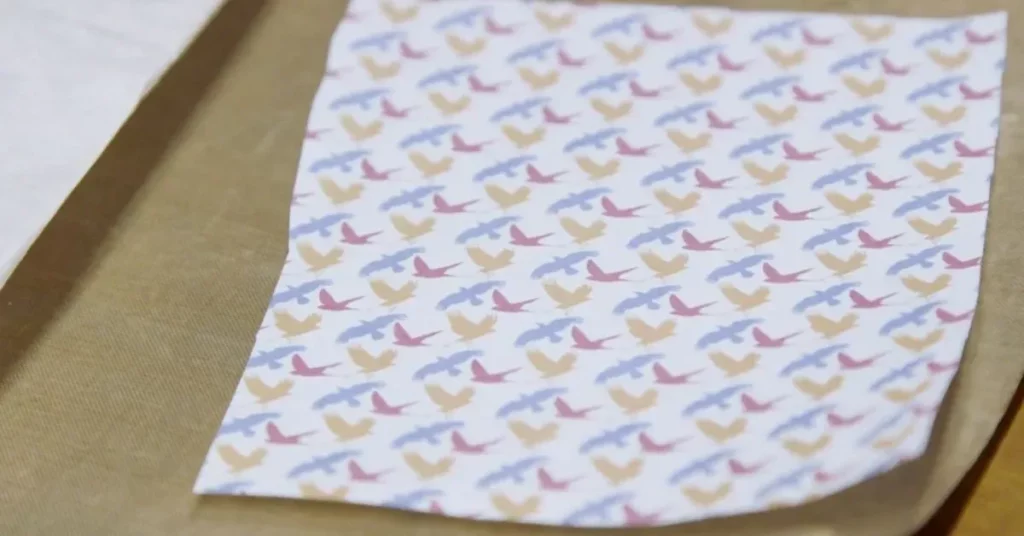
Before placing the metal sheet onto press heat, make sure the printed design is of correct size to suit sublimation metal sheet. If there’s a dark color background then allow 2mm bleed around all edges for ensuring complete coverage of the image.
5. Pressing the Sublimation Metal
When the heat press is at temperature take your metal sheet onto which you’ve paper transferred. Now, place it on the base of the heat press. Make sure the metal sheet is on top of the paper ( means when you press it should touch the metal, not the paper). Close the heat press and apply moderate pressure till the desired time. This pressing gives the inks time to fully penetrate the metal surface and extends their life. See the image given below.
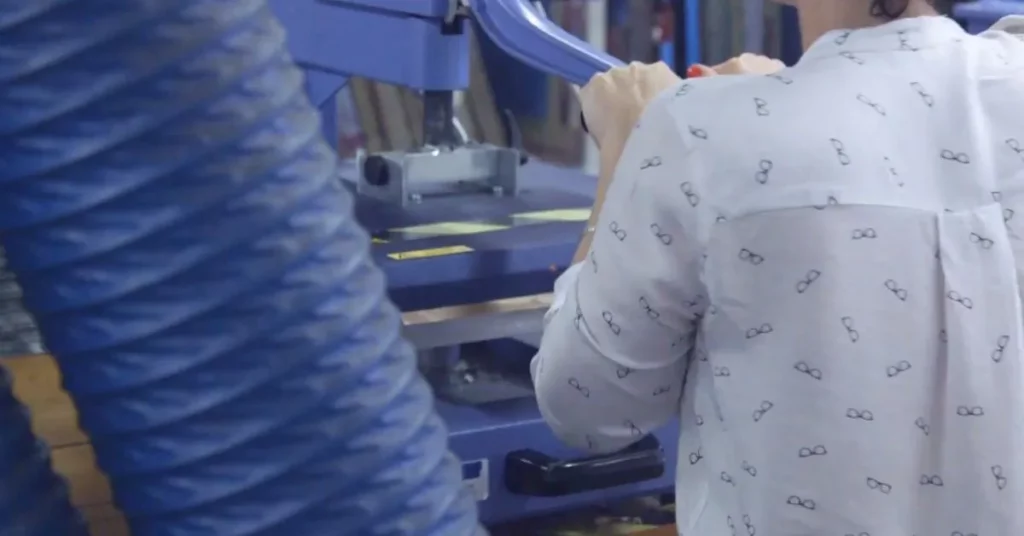
Note: Thickness of Sublimation metal sheets can vary (0.5, 0.7 and 1.1mm are common). So, thickness will alter the settings of the heat press. Ask your supplier for their recommended heat press settings.
Example of varying heat press settings are;
- 200C for 30 seconds, if you’re sublimating onto a 0.5mm brushed silver metal sheet.
- 200C for 70 seconds, if you’re sublimating onto a 1.1mm white Chromalux metal sheet.
6. Remove Sheet From Heat Press
For removing the metal sheet from the press, always use heat resistant gloves, as SAFETY FIRST!. To avoid warping, allow the sheet to get cool while remaining face down. Nevertheless, if a design becomes too warped, you can try pressing it again from the backside and then allow it to get cool again. Remember, never try bending a sheet to “straighten” it when it’s hot. This will damage the design miserably.
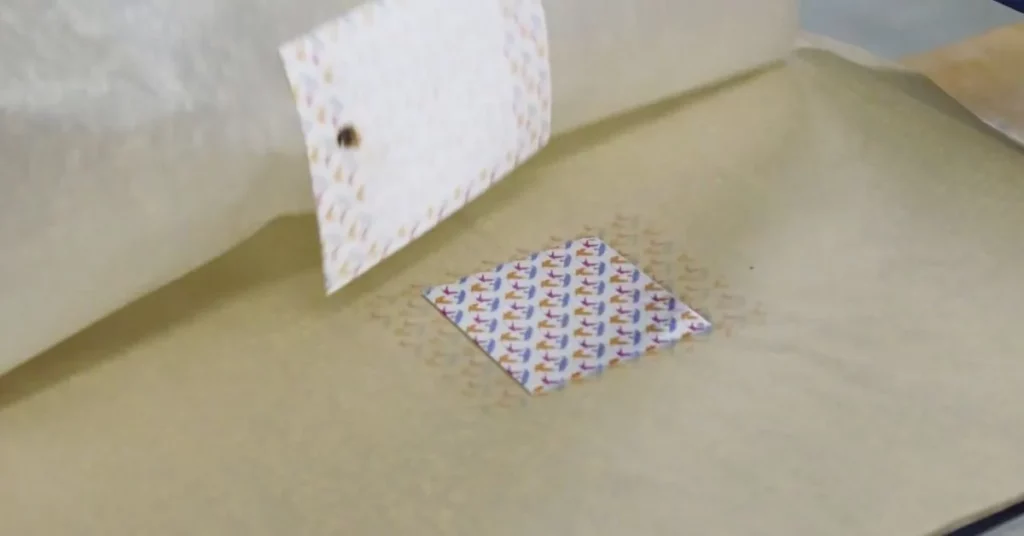
Still, If there’s any confusion in your mind then here’s a link for a youtube video explaining step-by-step how to do sublimation printing on metal. Hope it helps you a lot.
7. Storing Finished Design
Once, you are done with sublimation printing onto the metal sheet – inks are trapped behind the coating. Now, it’s time to store the finished metal sheet until you use or sell them. Be careful while storing them as you have invested your money and efforts in them.
Most importantly, never store them in direct contact with one another as inks will move from one piece to another, even if they cool down. Also, use paper sheets for protection instead of shrink wrap or plastics when shipping.
Conclusion
Creating high quality and clean sublimation printings on metal will require your efforts, time and money, investing in good equipment. But once you start following the right process you’ll master it soon and get worthy results. Also, make sure you use dyes/inks that are specifically designed for your printer model. Because only specialized inks can help you achieve the goal of absolute and fine sublimation printing on metal.


