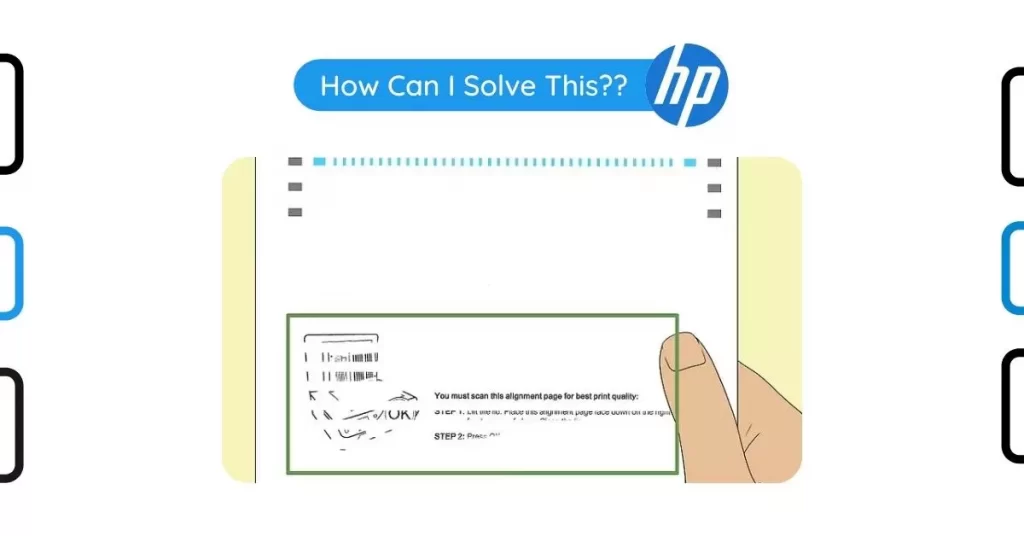
HP Printer Missing Lines When Printing. How Can I Solve This?
If your hp printer missing lines in printing, you have to read this article. Many people complain about lines missing when they’re printing at home. The problem with the tricolor ink head makes the lines appear intermittently on the printout. The lines usually appear as half a full line or very faint lines.
The printhead is the part of your printer that controls the printing process, and if it is not working properly, then you will not be able to get good quality printouts. If your HP printer is missing lines when printing, then you should check for the following:
Try the following:
- Make sure that the printer is connected correctly.
- Make sure that the printer is turned on and online.
- Make sure that there is enough paper in the paper tray. If necessary, add more paper to the tray.
- Make sure that the print quality settings are correct.
- On the File menu, click Print, and then click Properties.
- On the Quality tab, make sure that High or Draft quality is selected.
To check the lines available on your empty paper cassette, you will have to follow the steps mentioned below:
- Is there a loose connection?
- Is the printhead failing?
1. Is There a Loose Connection?
This problem is usually due to a loose connection between the print head and the printer. Please follow these steps to resolve this issue or you can read guide to connect printer to laptop.
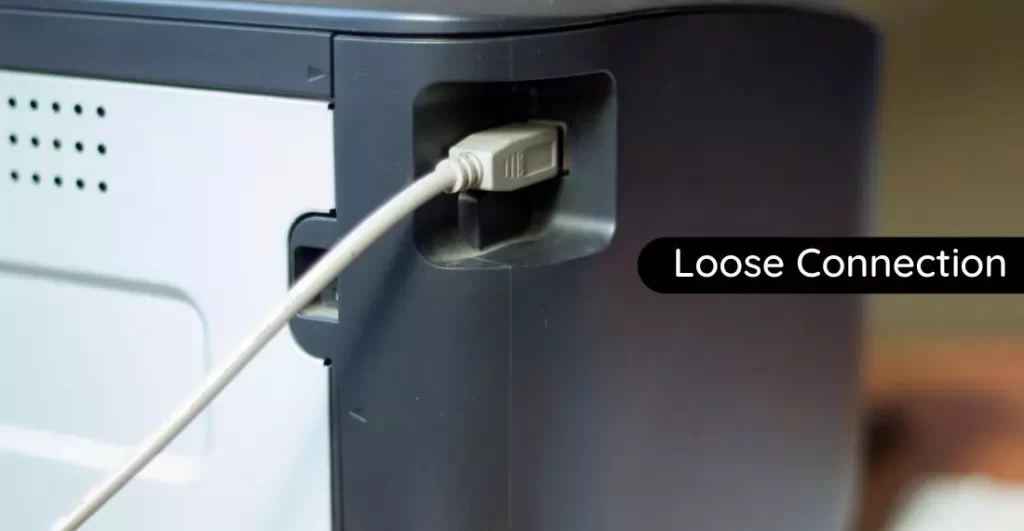
1. Turn off the printer.
2. Unplug all cables that are connected to the printer or router.
3. Wait five minutes, then reconnect the cables and plug the printer back into its power source.
4. Turn on the printer and try printing again.
Hopefully, this fixes the issue! Keep us in the loop. Thanks!
2. Is the Printhead Failing?
In a professional tone: If you have just installed a new printhead, follow these steps to complete the setup process:

1. Open the Printer Cover by lifting it up
2. Wait for your printer to center the printhead.
3. Remove the Ink Cartridges from the Printhead
4. Clean the Printhead with a cloth dampened with warm water (not hot)
5. After cleaning, reinsert the Ink Cartridges into their respective color slots on the Printhead.
3. Has the Paper Loaded Correctly?
Let’s try this instead:
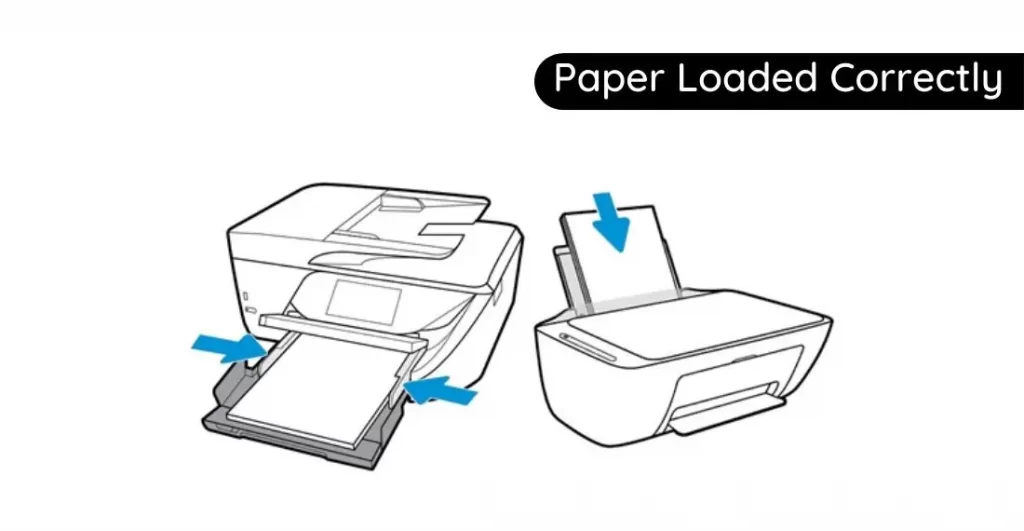
1. Disconnect the power cord from the printer.
2. Remove the ink cartridges and check for any torn pieces of paper from the carriage path. If there is any torn pieces, remove it very gently.
3. Close the cover on the product. The printhead latch should move to the center of the product.
4. Reconnect the power cord to the rear of the product.
5. Reconnect the power cord to the wall outlet. Plug the product directly into a wall outlet, bypassing any surge protector or power strip.
6. Turn on your printer and check if you are able to print anything now.
4. Is Using the Correct Ink Cartridges?
If you want to avoid ink cartridge issues, you need to make sure that the cartridges are compatible with your printer. For example, HP Deskjet printers are designed for use with HP Deskjet ink cartridges.
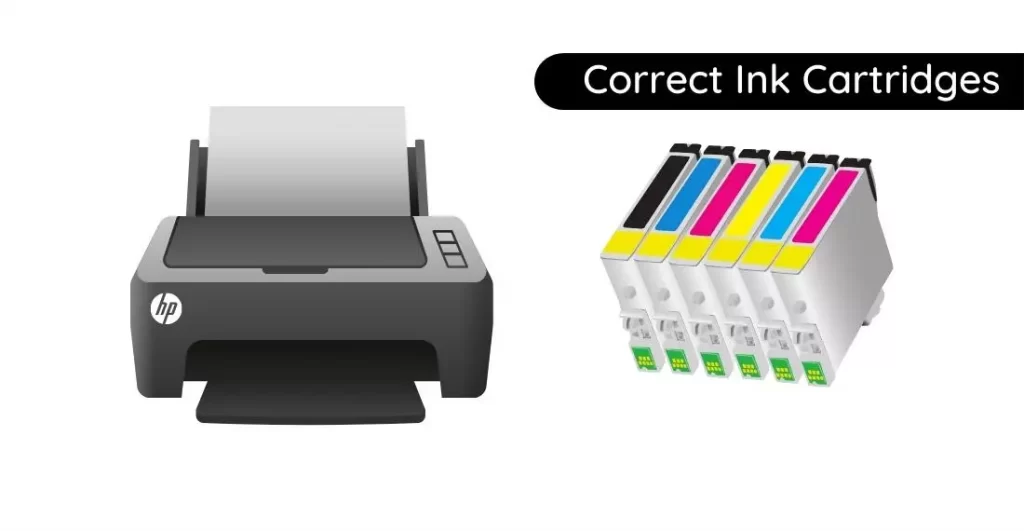
When you use the correct ink cartridges, you’ll get the most out of your printer and you won’t have to worry about the ink being wasted or the printer suffering damage.
Conclusion:
Overall, the issue could be a result of the printer’s age. HP products tend to work for about a maximum of five years, so I would expect your model to be at least five years old. Since there is no way to fix that, your only real option is to buy a new printer. I recommend looking up printers under $50 because they are more economical and do pretty much the same thing.