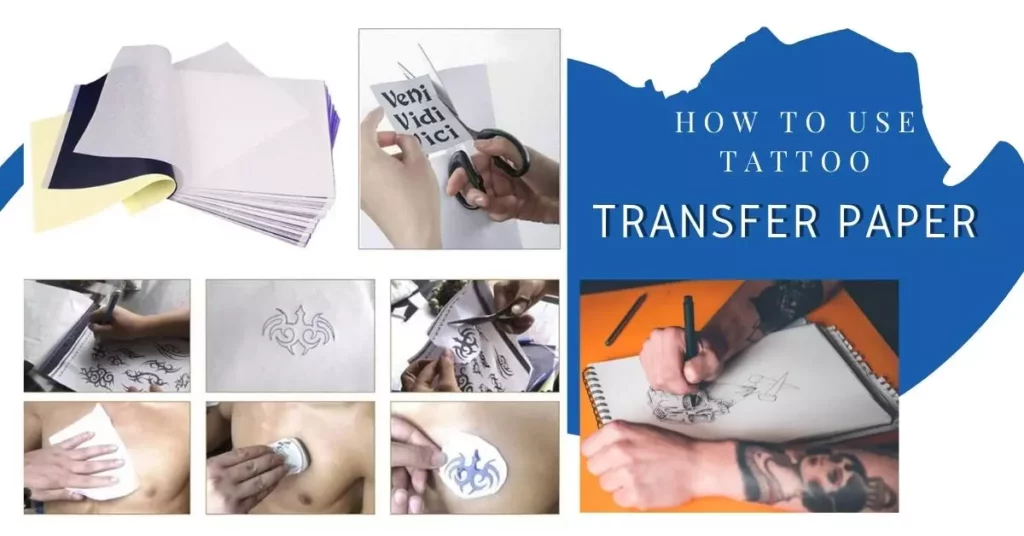
How To Use Tattoo Transfer Paper? Step by Step Easy to Follow Guide
If you’re looking to create your own tattoos and want them to look perfect on your skin as you desire, then you’ll need to know how to use tattoo transfer paper. Because tattoo transfer paper is the game changer in tattooing.
Tattoo transfer paper is a special type of carbon paper that helps you create an outline of your tattoo design onto the skin. You can either create tattoo stencil by hand or with a thermal copier. Both methods transfer the design first into carbon copy that gets transferred to your skin after.
Luckily, In this blog, I am going to tell you a very simple technique about using tattoo transfer paper. Once you understand the method, you’ll be able to create tattoos or artworks that look exactly the same on your skin or crafting objects like you want to. All you need to do now is keep reading the blog.
Types of Tattoo Transfer Paper
There are two main types of tattoo transfer paper: Hectograph or Free-Hand and Thermographic tattoo transfer paper, both are used to outline the permanent tattoo.
1. Hectograph or Free-Hand Tattoo Transfer Paper
A hectograph tattoo transfer paper is used by the artists to draw the tattoo design manually using a pencil or gel pen on the tattoo transfer paper. It’s available in a choice of different colors for different skins.
It is made up of 3 sheets, the first one is used for manual drawing of your tattoo design, the second sheet serves as a barrier between the tattoo transfer paper and third sheet. The third-sheet is itself a carbon paper.
2. Thermographic Tattoo Transfer Paper
Thermographic tattoo transfer paper is more sophisticated than Hectograph. You can make a hands free stencil with it but it’s mostly used for a thermal copier transfer machine. It is also available in different colors. It consist of 4 sheets.
The yellow backing sheet holds all sheets in place, brown protective sheet stops the carbon going onto the white transfer sheet, a white transfer sheet and purple ink carbon copy sheet.
Different Colors of Tattoo Transfer Paper
The time is gone, when there was only one color of transfer paper. That was the purple ink layer which created purple outlines on the stencil. And it shows up really bad if you are tattooing for dark skin. But now, manufacturers came up with different colors of tattoo transfer papers which show up much better on different skin tones.
- Red tends to work well on paler skins. It allows you to see the difference between the stencil and the tattoo.
- Green tends to work well on dark skin. It shows up more in contrast to the skin.
You can find both red and green stencil paper colors in the market easily.
Before, I tell you the steps that you need to follow for using a tattoo transfer paper. Let’s have a look towards the list of items that are going to be required.
- Hard and clean surface – Provides a firm surface for drawing your tattoo outline or tracing of it on the tattoo transfer paper.
- Tattoo transfer paper of your choice – Serves as a carbon paper for your tattoo design.
- Deodorant or soap – Serves as a medium for transferring the tattoo design on your skin without any distortion.
Steps for using a Tattoo Transfer Paper
Here’s the step by step guide for using tattoo transfer paper precisely. I tried to keep it as simple as possible for your better understanding.
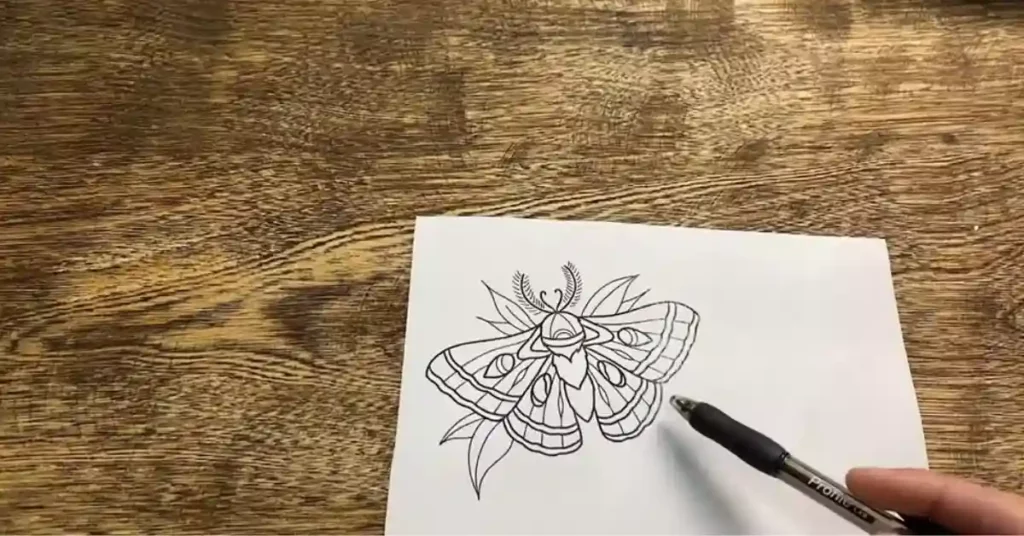
Step 1 – Create your tattoo design in pencil
Create your preferred tattoo design on a regular sheet of printer paper, in pencil. Try to draw it exactly how you want your tattoo to look. Because it will get transferred to the transfer paper. So, be patient and make it perfect.
Step 2 – Duplicate your tattoo design on tattoo transfer paper
After creating your tattoo design on pencil, now duplicate it to your tattoo transfer paper. You can either choose a heterotroph or thermographic paper.
- For Heterograph Tattoo Transfer Paper
- Remove the middle sheet of the transfer paper
- Draw your tattoo on the top sheet and it will get copied on the bottom sheet
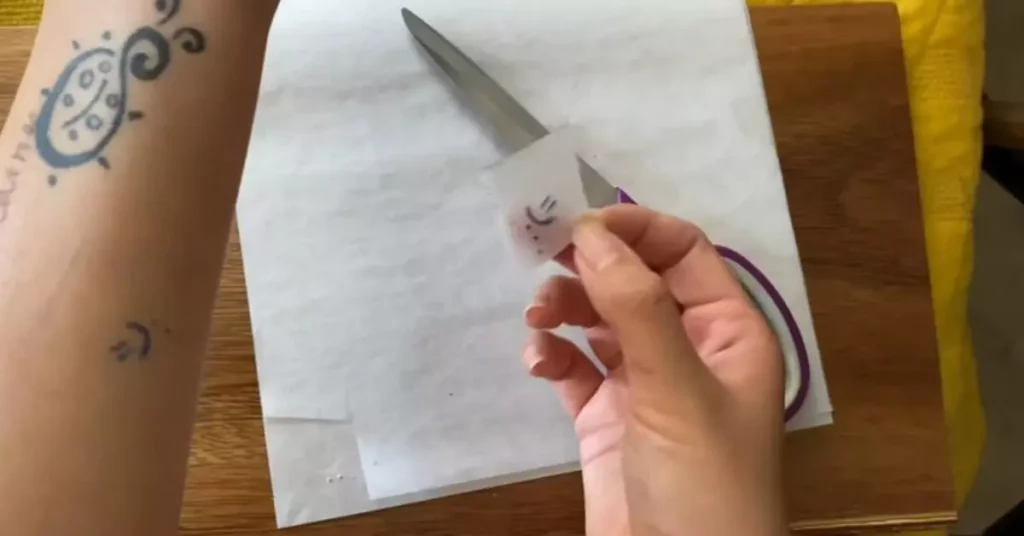
- Now, tear off the top sheet on the transfer paper then flip it over to see your design
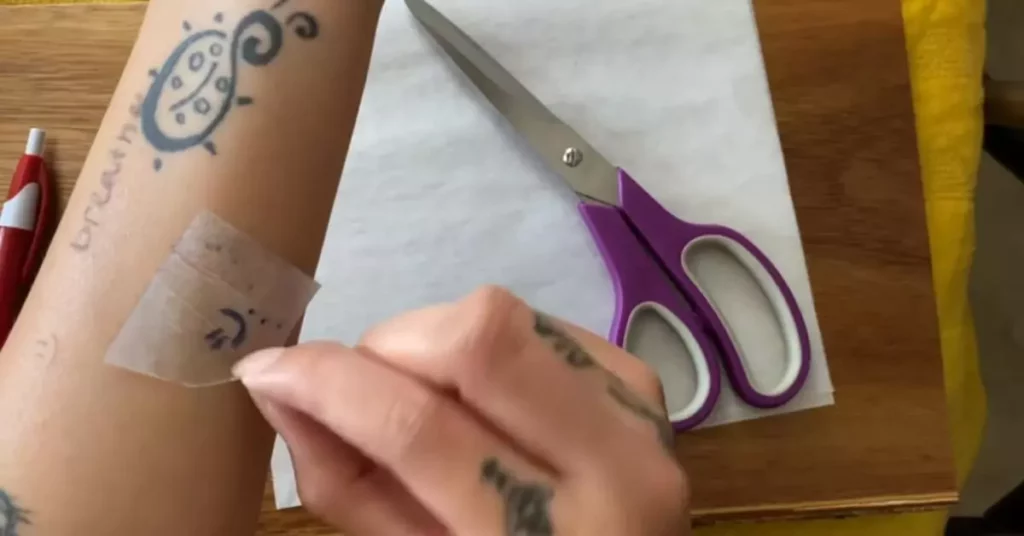
- Cut the outline, using a scissor, as close as possible
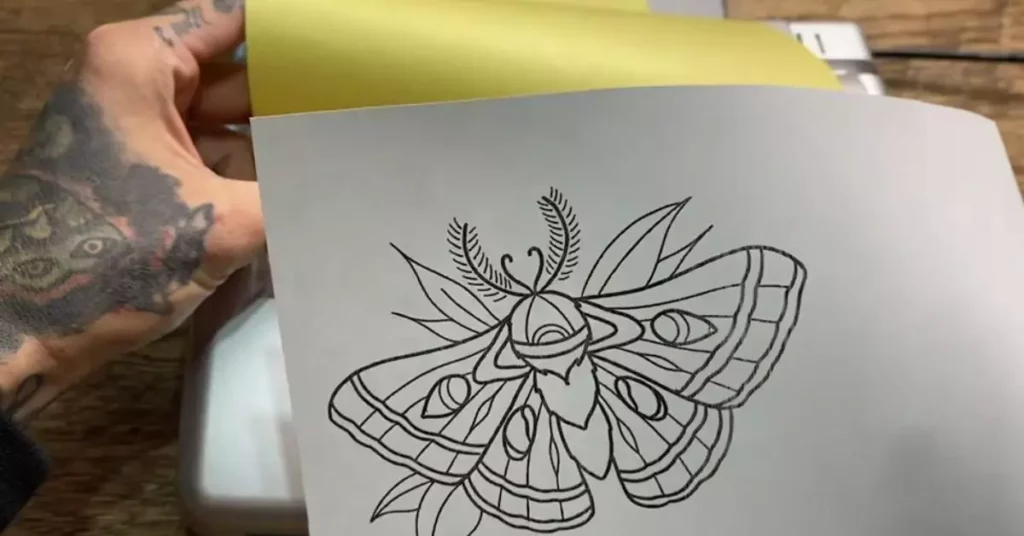
2. For Thermographic Tattoo Transfer Paper
- Open the first sheet of transfer paper. Next, remove and toss the second sheet that serves as a barrier between carbon copy sheet and design transfer sheet
- Flip the transfer paper to the back and rip off then discard the last (yellow) sheet
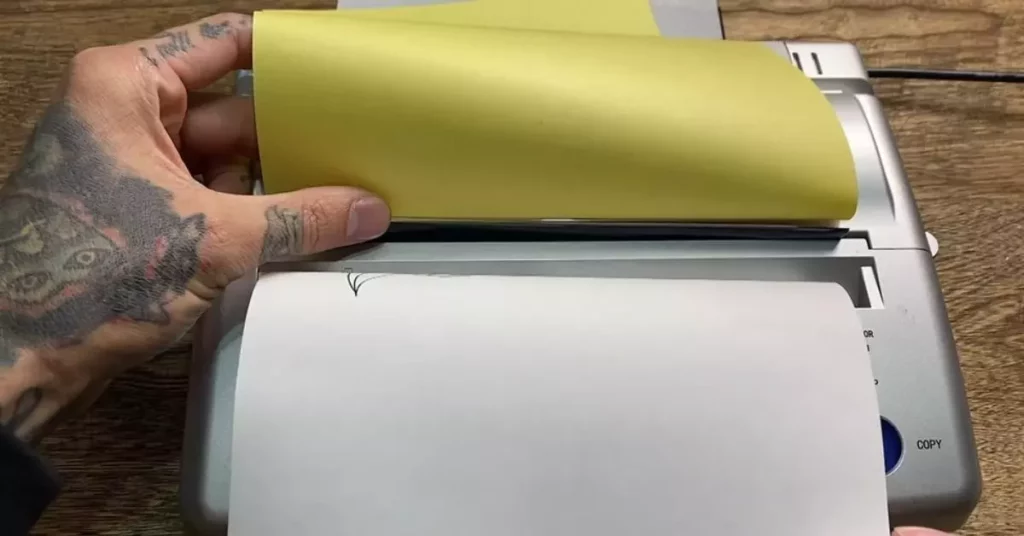
- Load the two remaining sheets of your thermographic tattoo transfer paper into the thermal copier with the violet sheet down – in contact with the printer. Ensure its proper alignment
- Load the printer sheet with the tattoo design (that you created in the first step) on the thermal printer. Then, press “COPY”
- Now, let the transfer paper run through the printer. Gently pull up the transfer paper to help it pass through the printer. Remember, if you pull it up too aggressively, the tattoo design duplicate will be distorted
- The tattoo design should be on the top of the sheet, once it has run through the printer. Rip off the top sheet from the transfer paper.
- Cut the tattoo duplicate paper to the outline as close as possible
Step 3 – Prepare the skin
For the best desired outcomes, start with clean and dry skin ( free from moisturizer). If the area where you are going to tattoo is too hairy, then shave it. Saving the area is particularly important if you are going for a permanent tattoo as it will give the tattooing needle adequate contact with the skin pores. Moreover, artists will get full control over the tattooing needle. But, if a tattoo is going to be temporary, shaving isn’t necessary.
Now, apply the dampening medium either deodorant or soap on the area where you want to tattoo. If you are using deodorant, try to use a new one. For soap, mix any liquid soap with water to make a soapy solution. Take a towel or cloth, dip in the soapy solution and apply to the skin where you want to tattoo.
Step 4 – Transfer the design to the skin
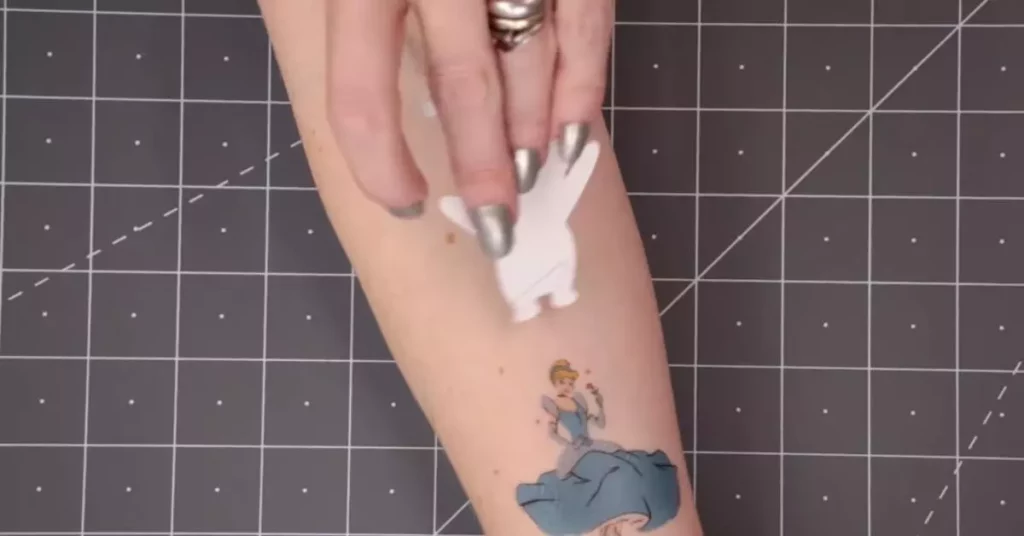
After skin preparation, take the cut-out outline of your tattoo design, and place the paper on your skin. Since the transfer paper has a mirror effect, place the top side (where the actual outline is drawn) on your skin.
Press the transfer paper on your skin firmly and hold it for 60-90 seconds. Make sure the transfer paper stays in position. Ease your grip and gently peel off the paper. The tattoo design should be embedded into the skin, if not, let the paper set for a few more seconds on your skin and apply a little pressure by your finger tip and again peel off the transfer paper.
Transferring Pictures on Crafts Using Tattoo Transfer Paper
Printed pictures can also get transferred using tattoo transfer paper on any solid surface like plastic, wood, etc. But ensure, the piece you are using for crafting is clean, dried and dried from any prior painting.
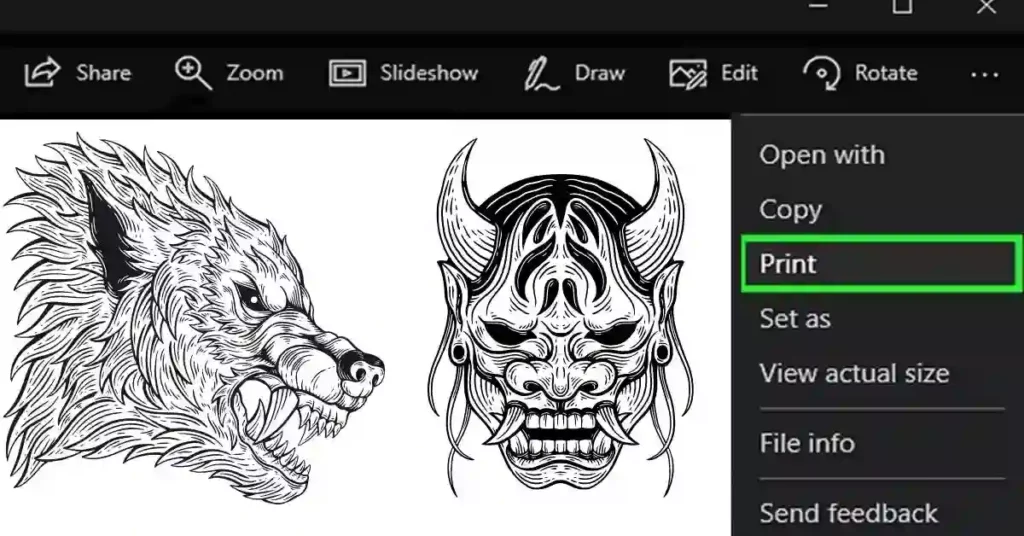
Step 1 – Print your Image
Find the tattoo design or image of your desire from pinterest and download it. Make sure you adjust the size of the image according to your craft object before printing it on tattoo transfer paper. You can find printable tattoo paper easily in craft stores near you. If you can’t find them, no worries, you can always buy them online.
Step 2 – Apply adhesive
You will get an adhesive sheet with your printable tattoo paper. Just like others, it will be protected by a plastic sheet. Peel the plastic sheet and put the adhesive one over your printed image. Now, cut the outline of the image as close as possible.
Step 3 – Peel the plastic film
Now, you have a layer of adhesive sheet and a layer of plastic film over it. Expose the sticky layer by peeling it off.
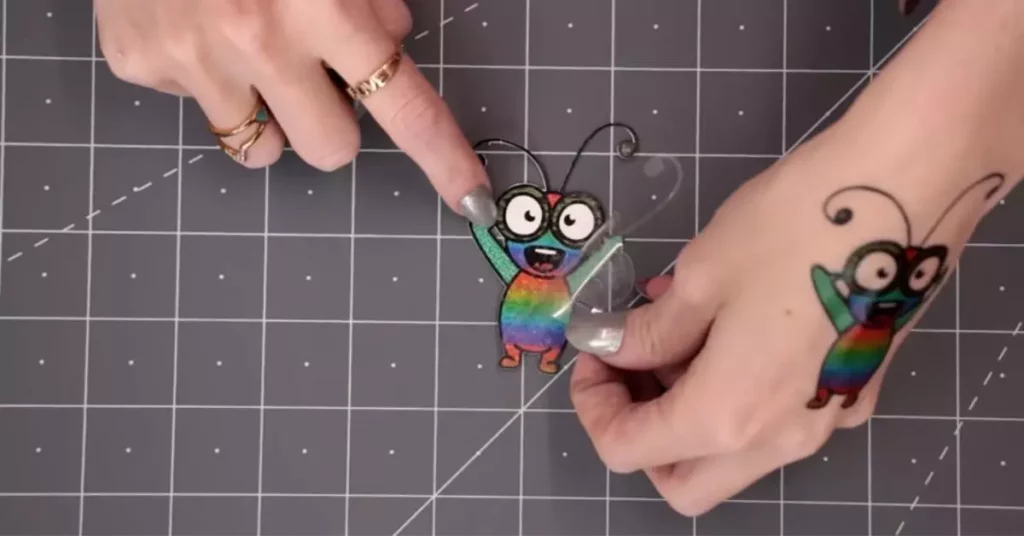
Step 4 – Place the image on object
By keeping the image side down, place the paper exactly at the spot where you want to transfer the image. Once you place the paper you can’t change its position so be precise.
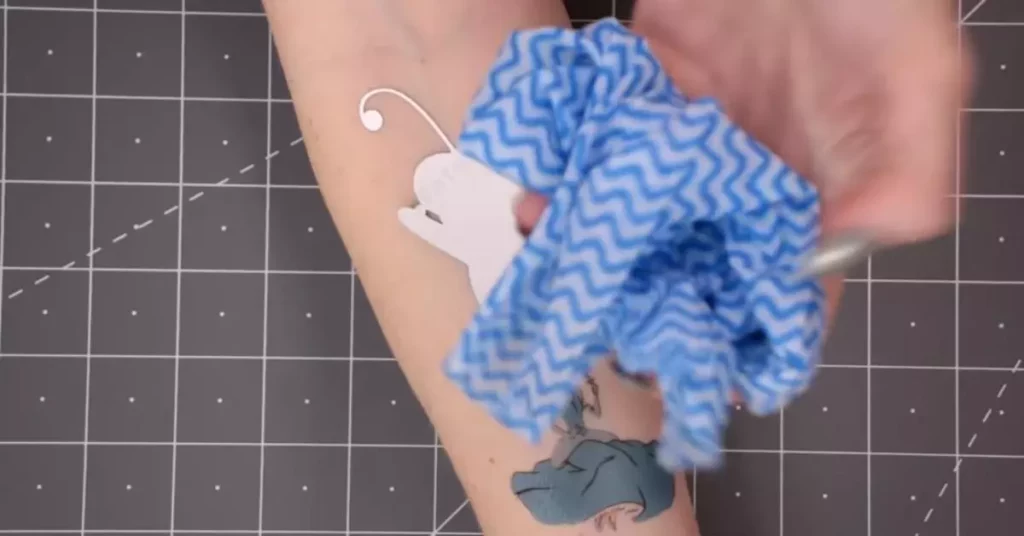
Step 5 – Moisten the paper
Now, take a wet cotton towel. Start pressing it gently on your paper to moisten it. Keep doing this until the whole paper gets moist / damp.
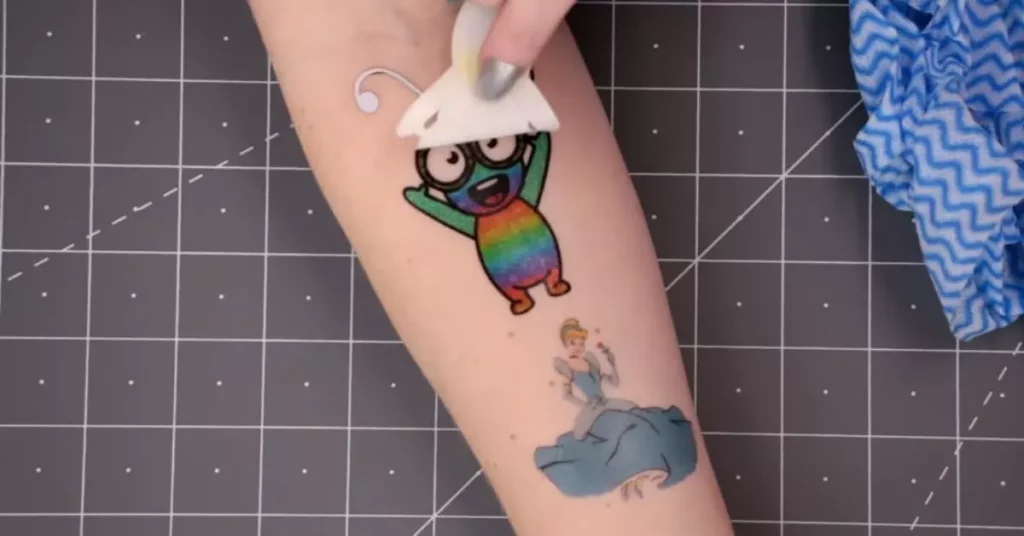
Step 6 – Peel the paper
After completely damping the paper, start peeling it off from one corner gently. Be gentle and notice whether the image is fully transferred on object or not. If the image is coming off with paper, put it back and leep moistening it with a wet towel.
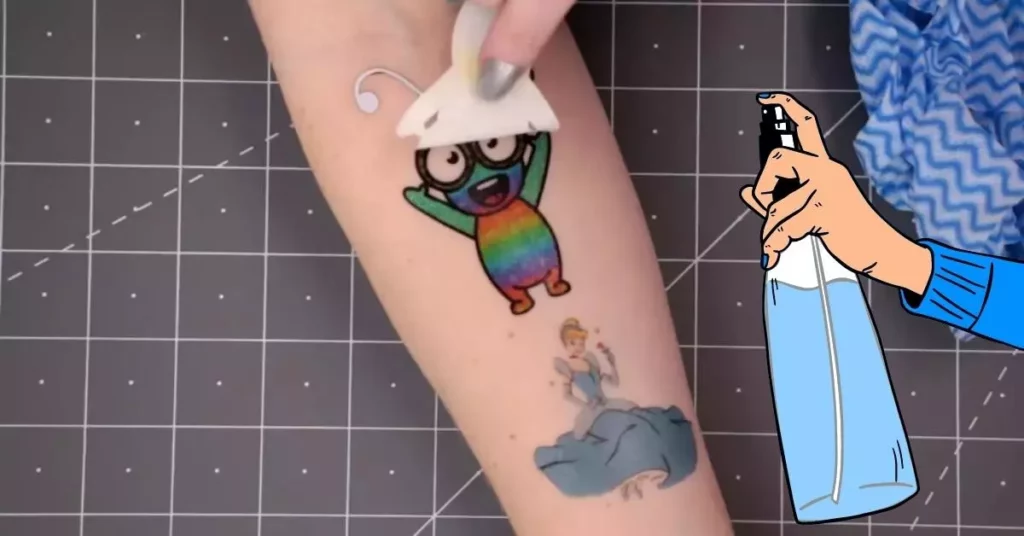
Step 7 – Seal your image
When your image is transferred to the object properly, use a glaze spray to seal it on the object. Glaze spray also prevents images from fading away. Let the spray dry for about 30 minutes before you move the object.
Conclusion:
Tattoo transfer papers make your tattoo literally picture-perfect, when the job is done, so you don’t have to regret it later. Regardless of the type of tattoo transfer paper, just use the best quality. As the better the paper, better the design transferred to your skin and better the tattoo will be. I have covered everything about using tattoo transfer paper that you should know for creating perfect tattoos on your skin. Hope you find this post helpful for you.