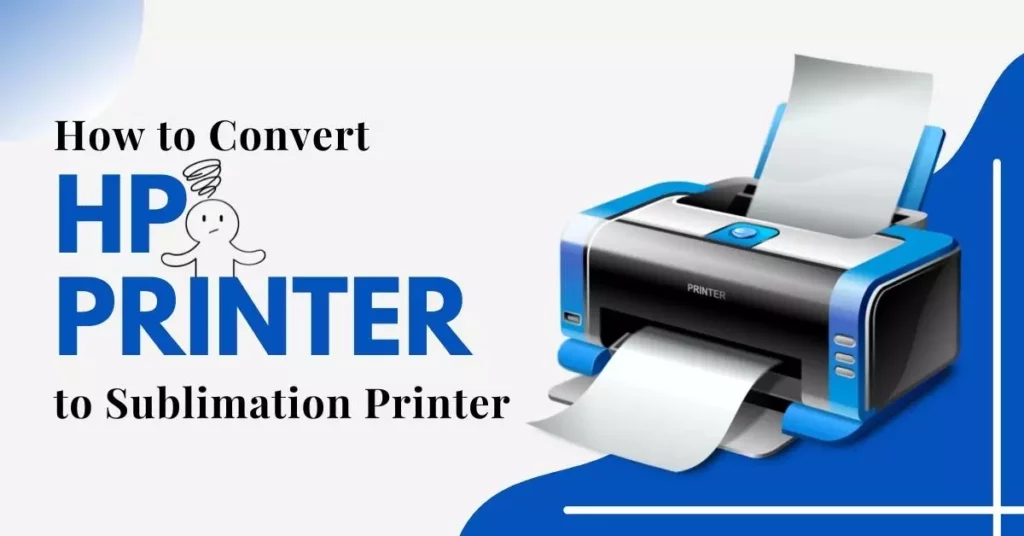
How to Convert HP Printer to Sublimation Printer?
When it comes to the sublimation printing business, the cost of printers is one of the main concerns. You might need a dedicated printer that can do bulk printing of t-shirts, mugs, caps, and so on. In this article, we will see how you can easily convert your HP Printer to a sublimation printer. We will also discuss some of the pros and cons of converting your HP printer to a dye-sublimation printer.
So, you have an HP printer that you are planning on converting to a sublimation printer? Before you begin, there are certain things that you need to take into consideration. For example, whether or not the printer is compatible with the type of ink that you would be used for printing. In addition, it is important to know if the cartridge used in your HP Printer is compatible with the ink cartridges used in sublimation printers.
If your answer is yes to both these questions then it’s time to get started!
Convert HP Printer to Sublimation Printer
It is important to note that you cannot use just any HP printer for this conversion. Sublimation ink is heat sensitive and the equipment you use for printing needs to be able to handle the required heat in order to print properly. Also, this post assumes you have some knowledge about sublimation printing and the equipment used in it. If not, feel free to check out our introduction guide here.
Items Required to Convert HP Printer to Sublimation:
Printing things with your home printer is fun but unless you have high-quality ink it can be expensive. There are a variety of printing inks and processes to try including sublimation. With sublimation, you can use special heat transfer paper to create unique designs that look like they were printed right on the fabric. Sublimation printers are not cheap though and sometimes it is possible to convert your own printer into a sublimation printer. Here’s a guide on how to convert an HP printer to sublimation.
Here’s a list of items you will need:
- HP Printer
- Permanent Marker
- Sublimation paper (at least 8.5 x 11”)
- A set of sublimation ink (usually 100ml or more)
Start Convert With A New HP Printer:
You have a brand new HP printer in front of you, and it is ready to be converted into a sublimation printing device. To start the process, will need to move on to the following steps.
- Remove the printer cover and take out the cartridge.
- If you have a new cartridge, open it up and put it aside for later.
- Take a syringe and fill it with hot water. Inject the hot water directly into the ink tank to fill it up. Then remove the excess water with a paper towel.
- Take your cartridge, remove any remaining ink with an inkjet refill clip and replace the ink with sublimation ink.
- Put the cartridge back in its place inside of the printer.
- Repeat steps 1-5 on all of your cartridges.
- Close up your machine and print anything you would like!
- You will want to use PrintFab SubliJet-R ink cartridges as they are designed to work specifically with Ricoh printers.
Start Convert With A Used HP Printer:
- Start by turning off the printer, then unplugging it and all of its cables. Remove all of its ink cartridges, and then wash them thoroughly in warm water. If any remaining ink is present, you should remove it using a soft cloth or some distilled water.
- After cleaning the ink cartridges, you should store them away for future use (they will likely be useful to you at a later point). Next, open the printer’s door and look for the print-head assembly (it will typically be located where all of the cartridges usually are). You will want to take this out and store it with your old ink cartridges.
- Once this is done, you should wash out the inside of the printer (using cotton swabs and some distilled water), and then dry it thoroughly before replacing all of its components.
- Now that your printer is completely empty, you can begin installing your new sublimation equipment. The first thing to do is to replace the print head with one made specifically for sublimation printing. Make sure that this part is compatible with your printer’s model before purchasing it online from a reputable seller (this is a very important step because otherwise, your machine might not function properly).
Sublimation Inks And Papers:
Sublimation Ink and Paper is a very important part of the process. You have to make sure that you have the best sublimation ink and paper as this has a direct impact on the quality of your final product. There are many different types of sublimation inks and papers, so make sure you take the time to do your research before you purchase your supplies. If you’re just starting out, you can find many sublimation inks and papers on Amazon.
Sublimation Ink:
Sublimation Ink is used for sublimation printing. Sublimation printing is a process where dyes are transferred from ink through a coating of polyester film with the help of heat. It is a unique form of printing that produces high-quality images. The inks work by melting into the fabric allowing the colors to saturate deep into the fibers so they won’t fade away; even after numerous washes, the colors remain bright and vivid. They are perfect for clothing and other fabric items because they are environmentally friendly and safe for the skin.
Transfer paper:
Transfer paper is a high-performance transfer media that makes it possible to create long-lasting professional-quality prints on a wide range of fabrics including polyester and cotton blends. This type of paper is usually used in conjunction with sublimation printing but can also be used in the thermal transfer process as well. The paper transfers dye-based ink from an image onto another medium such as fabric or wood using heat and pressure.
Refilling the Tanks with Sublimation Ink:
Perform the following steps to fill the ink tanks with sublimation ink.
- Place newspaper on a flat and clean surface.
- Set the printer on its backside on the newspaper, so that you can access the ink tanks easily.
- Take a syringe and draw 9ml of black (K) ink into it and then empty the syringe into the black (K) tank by inserting the tip of it in the fill hole of the tank.
- Fill all other colors (C, M, Y) similarly with 15 ml of ink each.
- Turn on your printer and install the cartridges properly in their slots.
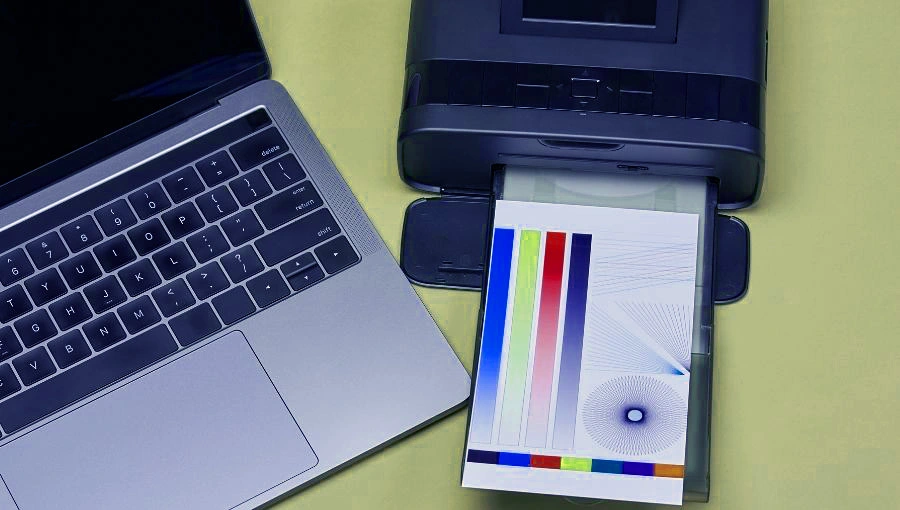
- Now print nozzle check pattern to find out if all nozzles are working fine. If any particular color is missing then repeat the above steps once again carefully.
Test your printer:
You will need to create a test page to see if the printer works. For this purpose, you can purchase a blank heat transfer paper or use a used heat transfer paper. Place the heat transfer paper into the printer and print it. Once done, remove the paper from the printer and place it on an ironing board. The next step is to iron the paper for about 30 seconds. If the image appears on paper, then your printer is functional.
Set your printer settings:
- Load your printer with a sublimation ink cartridge and ensure that the sublimation ink is loaded into the printer.
- Click on “Settings” or “Printer Properties” in your printing application to configure the settings of your HP printer.
- Configure the media type, orientation (landscape or portrait), print quality, margin settings, and other options as desired by you.
- Press “OK” or “Apply” to save the changes made by you in your HP printer’s settings.
Print on sublimation paper:
Cut the sublimation paper to the size of your transfer. Go as close to the edges as possible for the best results. Place in your heat press at 400 degrees F for 45 seconds.
Seal the design with a cover sheet (a piece of plain paper). Make sure there are no wrinkles in the cover sheet. Press for 10 seconds. For fabric projects, pre-press fabric before sublimation. This will ensure that there is no moisture left in the material to affect the ink transfer. For all-over designs, layering comes highly recommended to avoid any blow-through when pressing.
Inspect the Printed Image:
- Inspect the printed image — especially at the edges, where you’ll need to look for any “breaks” in the image. If you find one, use your heat gun to smooth it out and make sure there aren’t any folds or wrinkles in the design.
- With the printed side facing up, stretch your piece of elastic fabric over the top of your pillowcase. Make sure it’s centered and pulled as tightly as possible over the whole surface of the case.
- Use your heat tool to carefully reheat each area of your pillowcase for about 10 seconds each (it’s OK if you go longer). After that, let it sit for about 15 seconds before moving on to the next area of your case.
- Remove the elastic fabric after 12-15 minutes, or when you can easily peel it off without leaving any residue behind.
Iron the fabric Using Heat Press:
To achieve the best results when printing on fabric, use a heat press to iron your fabric. A heat press is a machine that uses high temperatures and pressure to transfer images onto different surfaces, such as paper, fabric, etc. Heat presses are used to do things such as print T-shirts, mugs, and plates.
There are many reasons why you should be using a heat press when sublimation printing. The biggest advantage of using a heat press is that it provides even pressure throughout the image being transferred, resulting in clear images with vibrant colors. This can’t be achieved by using an iron because the iron doesn’t provide even pressure across the entire surface of the shirt or bag being printed on. Additionally, if you try to use an iron while sublimating on regular cotton fabrics or dark-colored fabrics, the cotton will melt because those fabrics are not made with polyester blends or 100% polyester fibers like most performance wear apparel.
Conclusion:
This guide will provide your information about printer conversion and help you convert your current printer to a sublimation printer. Please read this guide carefully and collect all the necessary information which is needed while converting. I hope this information will be useful for you. And if you come across any difficulties while doing the process, or want to share your experience and thoughts, feel free to post them in the comments. This article is meant to help people, so feel free to ask questions, add details or even redirect people to better sources of information. Thanks for reading!